
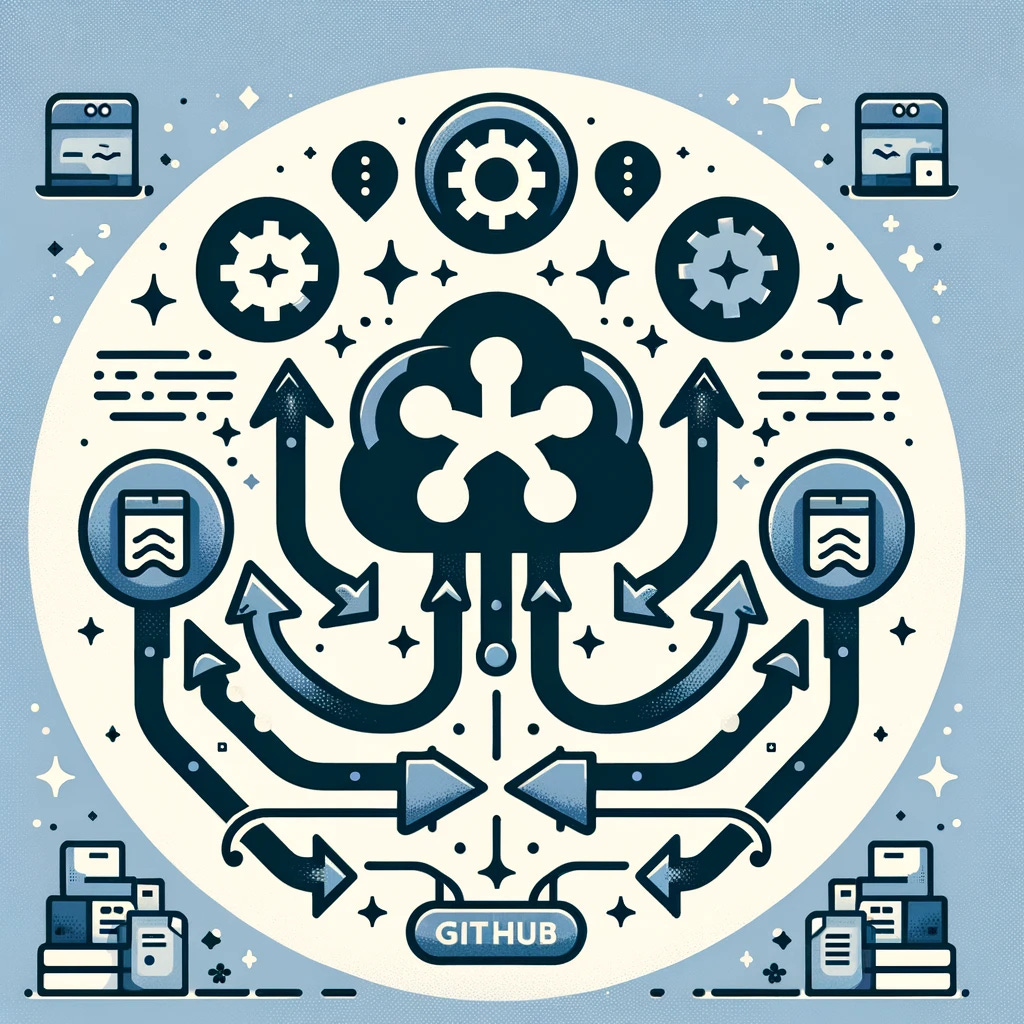
GitHub - Managing upstream changes
An overview of how to manage upstream changes in a GitHub repository

Introduction
When a GitHub repository is forked, it can maintain a connection with the original codebase, which is called the upstream repository or branch. This connection means that the forked repository can be modified as needed, but if changes are made to the original, such as new features, they can be integrated into the forked version.
This article outlines the steps to pull changes from an upstream repository into a forked version. Specifically, it outlines how to pull changes into a separate branch for testing and then how to merge those changes into the main branch of the fork after testing and resolving any conflicts1.
High-level workflow for Merging Upstream Changes:
Creating a New Branch: When upstream changes need to be merged, create a new branch in the forked repository based on the forked repository’s main branch.
Pulling Upstream Changes: Pull the changes from the upstream repository into this new branch. Resolve any conflicts here.
Testing: Use this branch to test the deployment to ensure everything works as expected. For example, if it’s a website, run it locally from the new branch, or if it’s a deployment, deploy from the branch to confirm everything is in order.
Creating a Pull Request: Once the branch with the upstream changes has been tested, create a Pull Request to merge this branch into the main branch. The Pull Request can be drafted during testing if necessary.
Review and Merge: Review the Pull Request in GitHub. After any necessary approvals, merge the Pull Request.
Delete the Branch: After the merge, the branch used to test the upstream changes can be deleted.
Prerequisites
Ensure Git is installed on the system.
Ensure access to the repository and its upstream repository.
Steps
1. Navigate to the local repo
2. Update the local main branch
Ensure the local main branch (or whichever branch will ultimately receive the tested upstream changes) is up to date with the remote repository.
git checkout main
# Checkout the local copy of the main branch

git pull origin main
# Pull remote changes into the local copy of the main branch
3. Fetch changes from the upstream repository
Fetch changes from the upstream repository without merging them.
git fetch upstream4. Create a new branch for testing the upstream changes
Create a new branch based on the main branch to test the upstream changes.
This is important, as it protects the stability of the branch from which the code is deployed.
git checkout -b upstream-changes main
# Create a new branch called upstream-changes based off the main branch
5. Merge upstream changes into the new branch
Merge the changes from the upstream repository into the new branch.
git merge upstream/mainResolving merge conflicts
If there are merge conflicts, Git will pause the merge process and mark the files that have conflicts. Here is how to resolve them:
Open the conflicted files in VS Code.
Look for the areas marked as conflicts (usually indicated by
<<<<<<,======, and>>>>>>>).Manually edit the files to resolve the conflicts. Choose which changes to keep or combine as needed.
After resolving conflicts, add the files to staging:
git add .Then, continue the merge process:
git merge --continueOnce all conflicts are resolved and the merge is successful, proceed with the next steps.
6. Push the new branch to Github
It’s good practice to push the newly created branch with the upstream changes to the remote repository.
git push origin upstream-changes7. Open a Pull Request in GitHub
Now, the Pull Request can be opened in draft.
Be careful that the Pull Request is proposing to pull the
upstream-changesbranch into your ownmainbranch, and not themainbranch of the upstream repository.
Go to the repository in GitHub.
Open a Pull Request for the
upstream-changesbranch against themainbranch.This usually initiates any review process.
Do not merge it yet.
8. Deploy the Test branch
Deploy or run the upstream-changes branch locally, or undertake whatever steps are required to confirm the changes.
9. Review and merge the pull request
If the tests are successful, merge the changes into main by merging the pull request into the main branch through the GitHub interface2.
10. Update the local main branch and clean up
After merging the pull request, update the local main branch and then delete the test branch.
git checkout main
# Switch back to the main branch

git pull origin main
# Pull the remote version of main to the local copy so it is up-to-date with the recent merge

git branch -d upstream-changes
# Delete the local copy of the branch used to test the upstream changes

git push origin --delete upstream-changes
# Delete the remote copy of the branch used to test the upstream changes
11. Redeploy from the main branch
If required, it’s good practice to now re-deploy the codebase from the main branch.
Conclusion
This process ensures that changes from the upstream repository are tested in isolation before being integrated into the main branch, minimising the risk of disruption to the main codebase.
A quick note on Git Fetch vs. Git Pull
In Git, both git fetch and git pull are commands used to update local repository copies from a remote source. However, they serve different purposes and operate in distinct ways.
git fetchretrieves updates from a remote repository but doesn’t automatically merge them into the current working branch. Whengit fetch upstreamis executed, for instance, Git fetches any new work that has been pushed to the upstream repository since the last fetch, updating the local remote-tracking branches (like upstream/main). However, the working directory remains unchanged. This command is useful for reviewing changes before integrating them into the local branch.git pull, on the other hand, is a more aggressive command that not only fetches updates from the remote repository but also automatically merges them into your current working branch. Essentially,git pullis a combination ofgit fetchfollowed bygit merge. When executedgit pull origin main, Git fetches the changes from the main branch of the remote named origin and immediately attempts to merge them into the current working branch. This command is handy for quickly updating local branches with the latest changes from the remote, assuming they’re ready to be merged without a review process.
In Summary git fetch is when the changes require review before merging. Use git pull when integrating the remote changes immediately into the local branch without a preliminary review is not a concern.
This is by no means meant to represent a best practice - it is simply a process that works for me in managing repositories that maintain a link to the original source.
What type of merge to use?
When to use Merge Commit
Opt for a merge commit when you want to preserve the exact history of changes, including the individual commits, from a feature branch without altering the commit history. This approach is beneficial when you want to maintain a visual representation of the feature branch within the main branch, making it easier to track and understand the flow of changes. It’s especially useful for complex features or significant changes that involve multiple developers or require detailed historical context for future reference.
The merge commit approach adds a new commit to the main branch that “merges” the histories, ensuring that the main branch’s history reflects the addition of the feature or changes from the feature branch as a merge. This method keeps the history of both branches intact and provides a clear merge point that can be referenced in the future
If Linear History is on and the branch being being merged into is protected, the only options may be Rebase or Squash.
When to use Rebase
Use this when you want to maintain a detailed commit history from the feature/test branch in the main branch. It’s suitable for code changes where each commit’s history is important for context, such as new features or significant code revisions.
When to use Squash
Opt for this when dealing with a series of minor or incremental changes, such as documentation updates or small tweaks. It combines all feature branch commits into a single commit for a cleaner main branch history, making it ideal for simpler or less impactful changes.